Owner invoices allow you to bill your owners for bookings you have generated each month. To create an owner invoice you must have owners created in Owner Center.
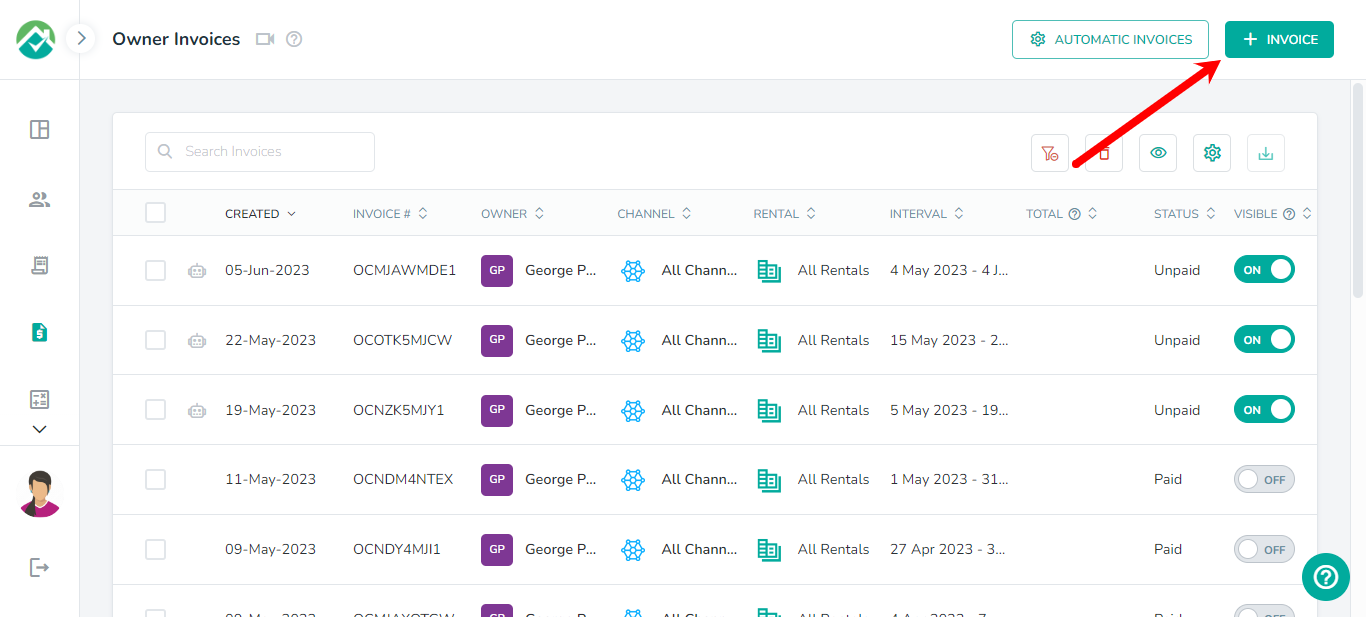
To view or create invoices, navigate to the Invoices section in the left navigation bar:
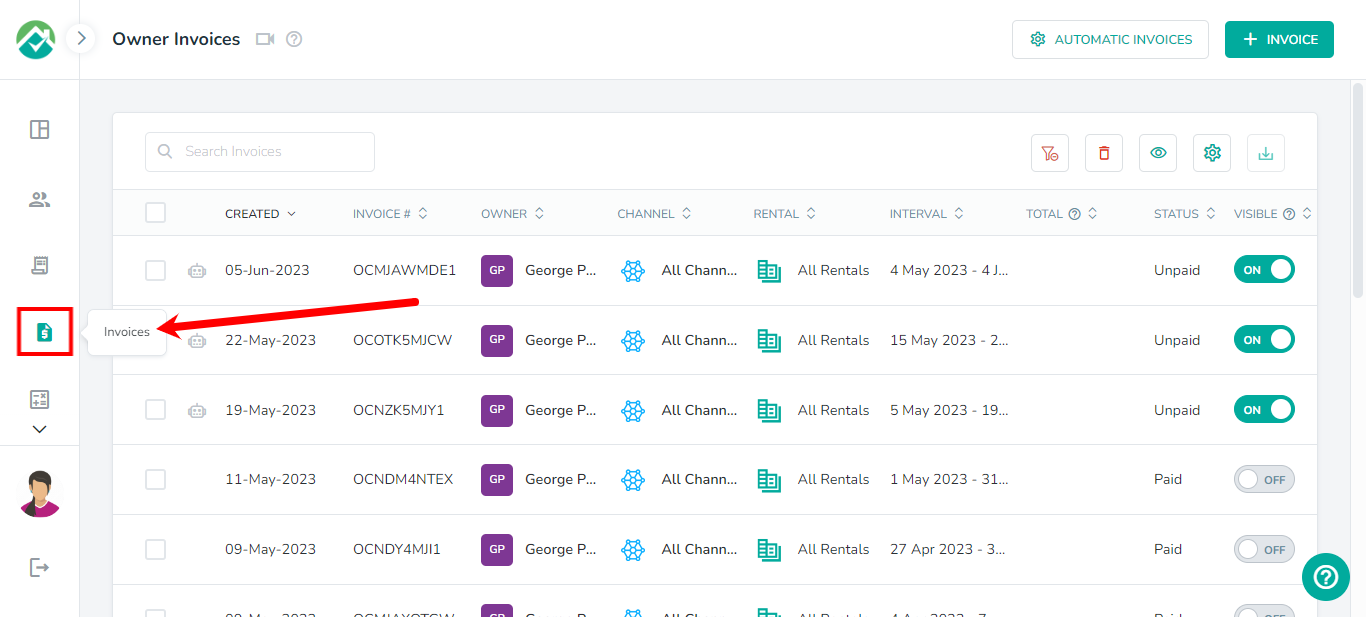
Here you will see a list of all invoices in the account.
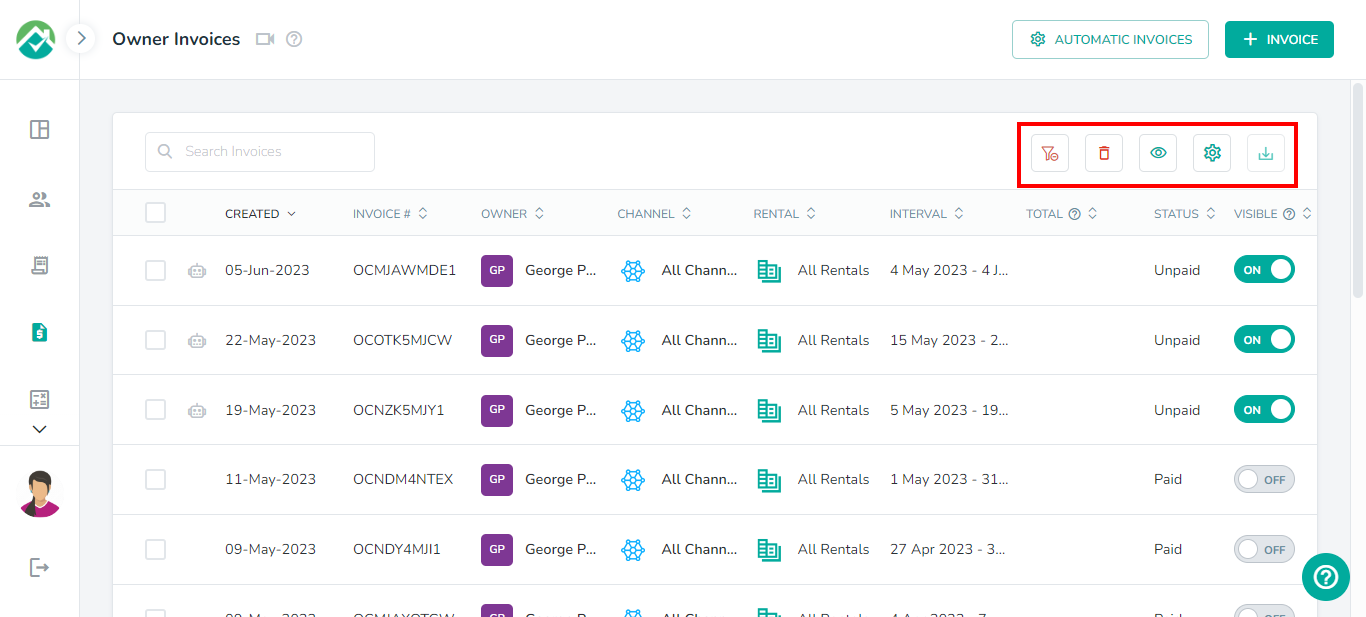
The options above the list will allow you to customize the fields that are shown for your invoices, filter your invoices based on your selections or delete/download the selected invoices:
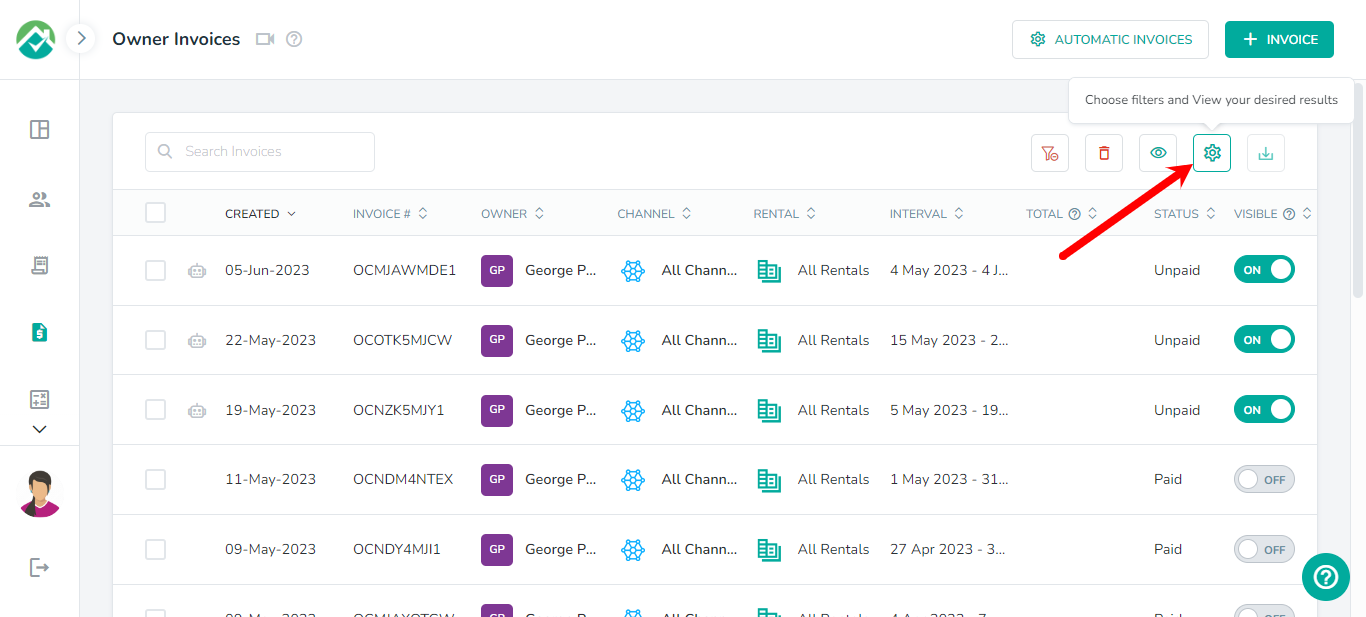
To customize which fields/columns are shown, first click on the icon to "Choose filters and View your desired results" then on the Grid tab:
You will then be able to turn off any fields/columns that you don't wish to view.
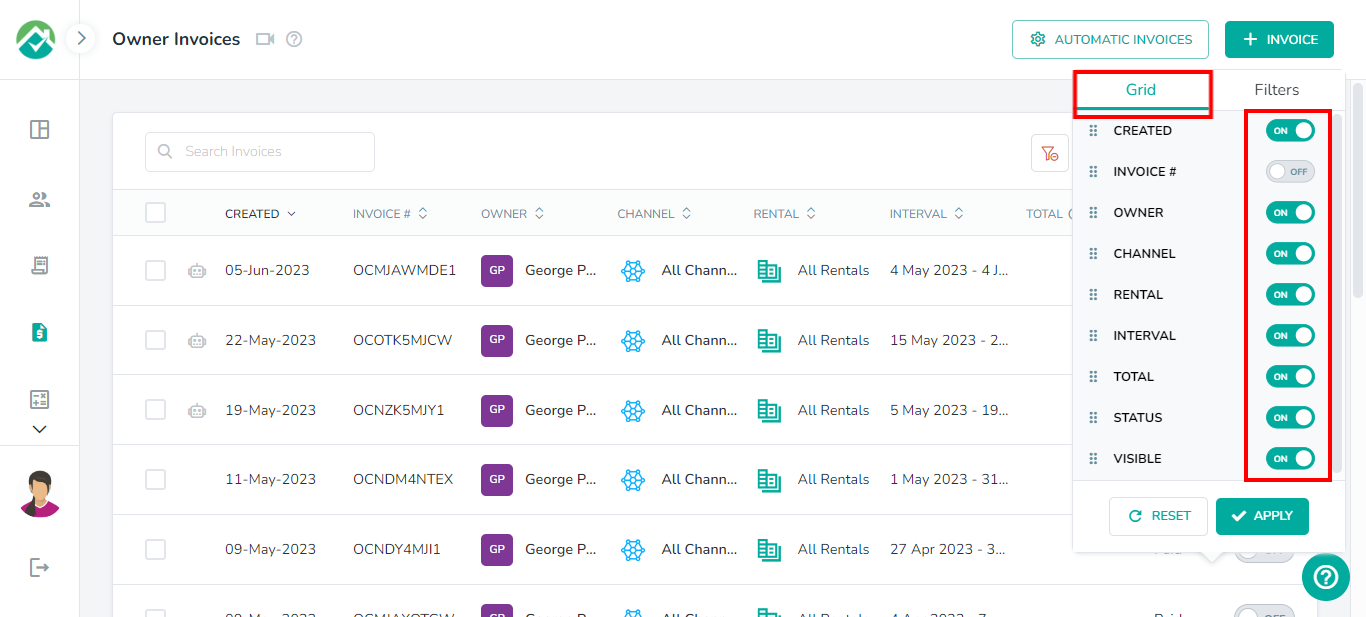
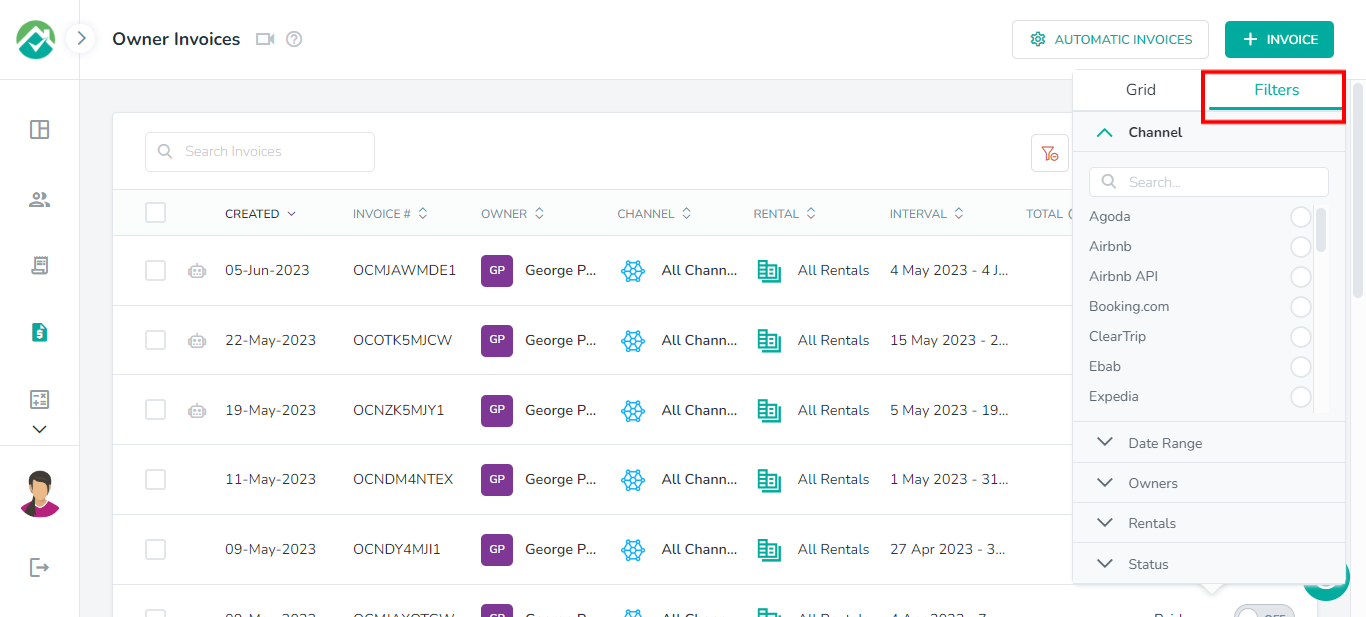
If you will like to narrow down the invoices that are shown, click on the icon then on the Filters tab. You will then have the option to display invoices based on Channel, Date Range, Owners, Rentals and Status.
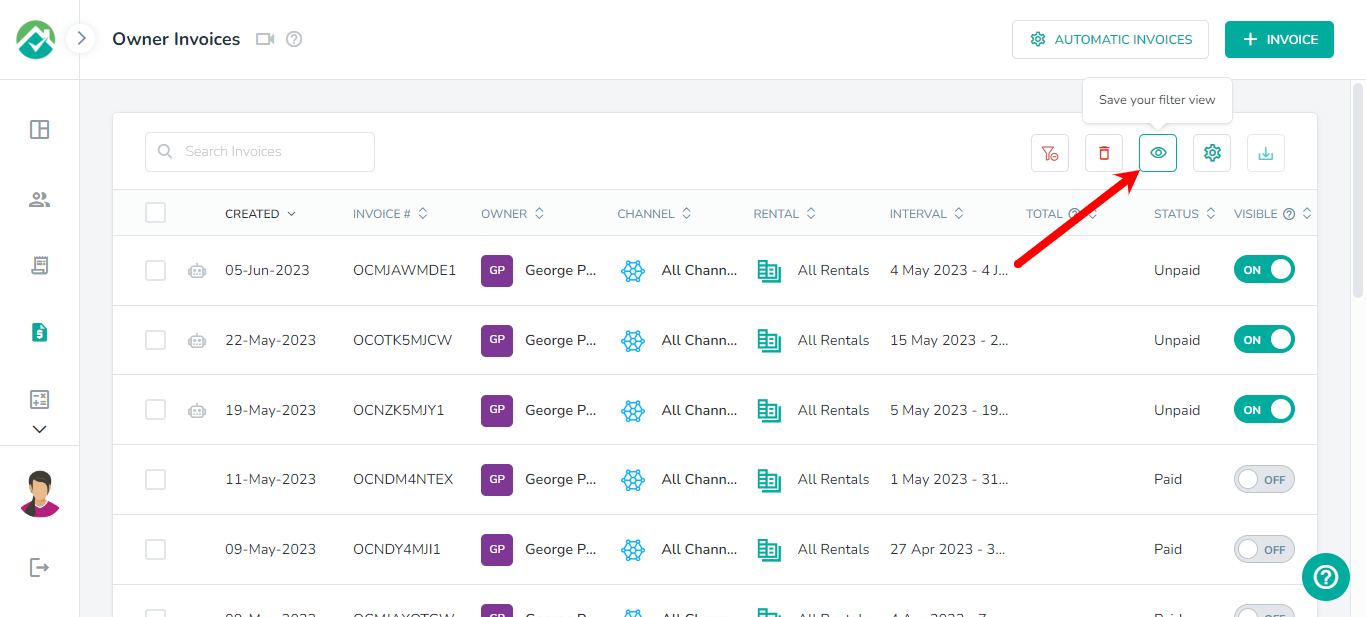
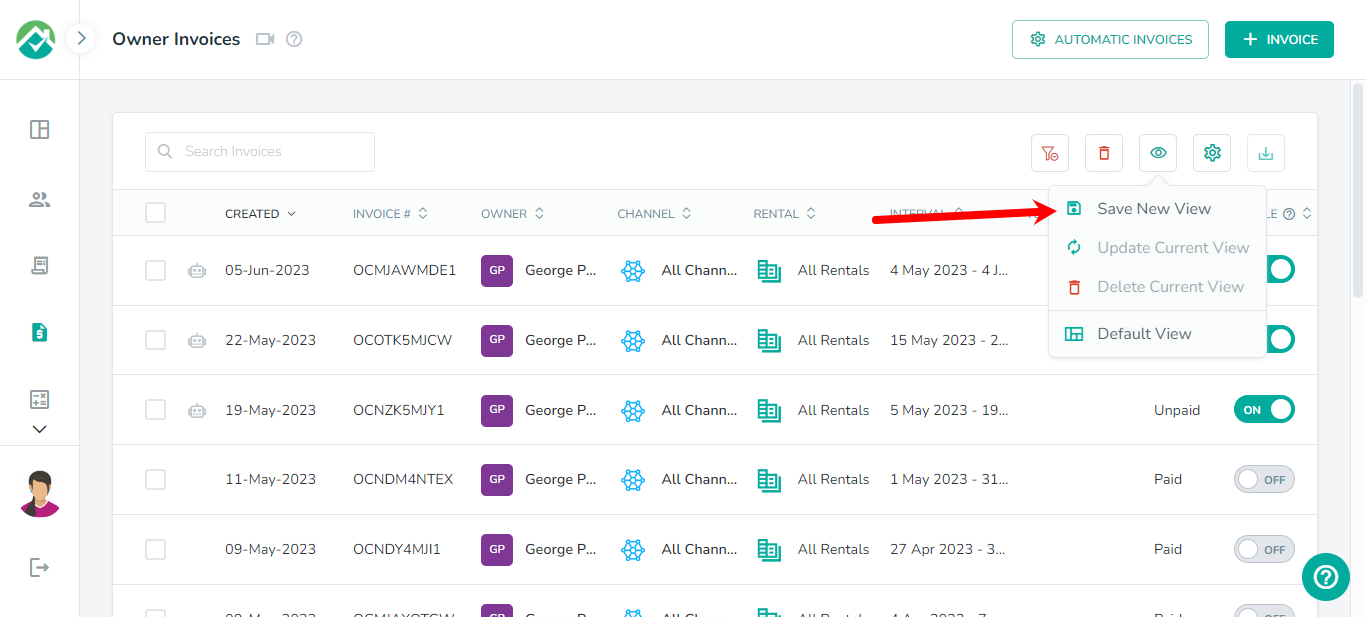
If you will like to select filters that will be saved for you to view the invoices list with these filters selected in the future, you can select your filters then click on the "Save your filter view" icon and save those selections as a Filter View.
The invoices list contains details such as the invoice #, owner, date range (Interval), total, status and if it is visible to the owner.
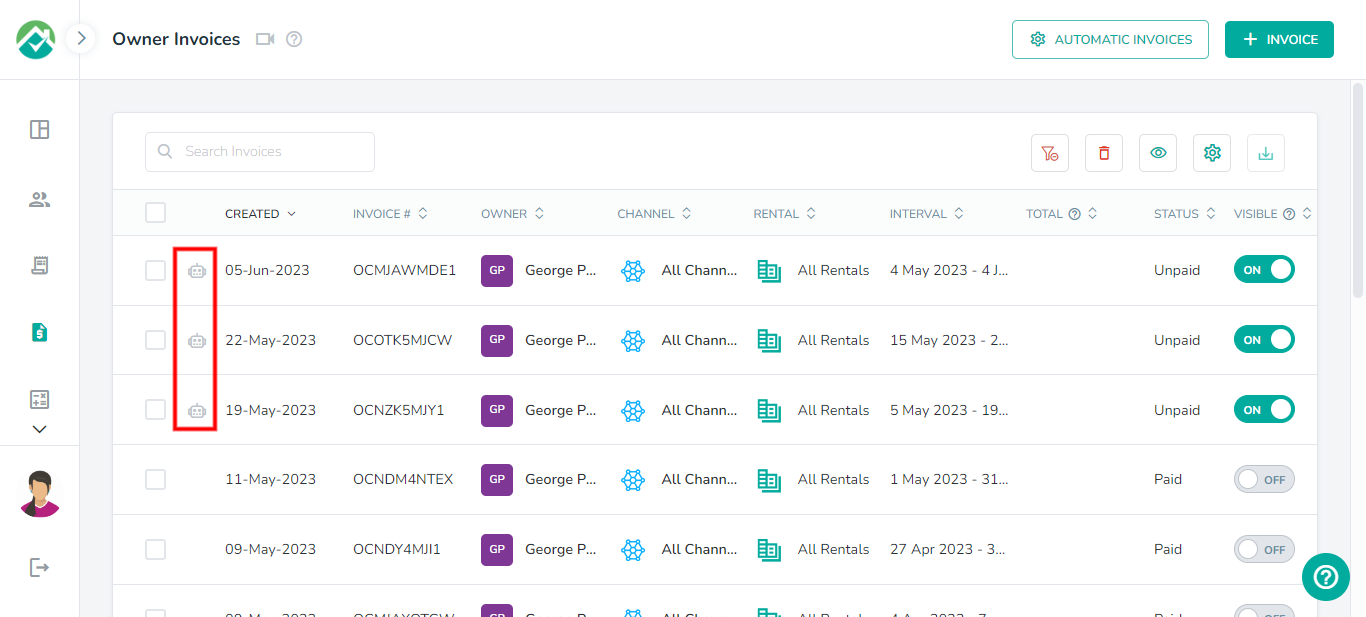
You can easily identify invoices that are automatic invoices from the robot icon next to the Created date:
For more on automatic invoices, please see the article here.
Creating a new invoice
To create a new invoice, click on the + Invoice button.
This will pop up an overlay, allowing you to enter the required fields:
Owners - select the owner that this invoice is being created for.
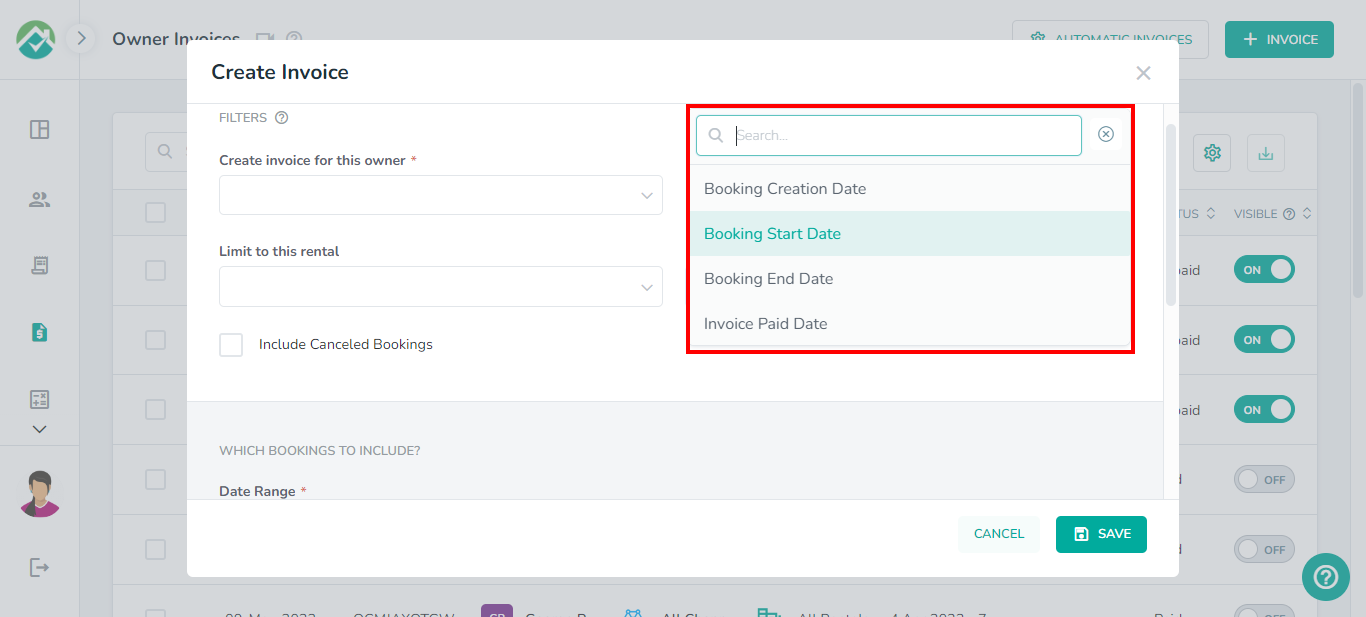
Revenue recognition method - this option lets to choose which criteria the revenue is calculated from, with the following options available:
Booking Creation Date
Booking Start Date (default selection)
Booking End Date
Invoice Paid Date
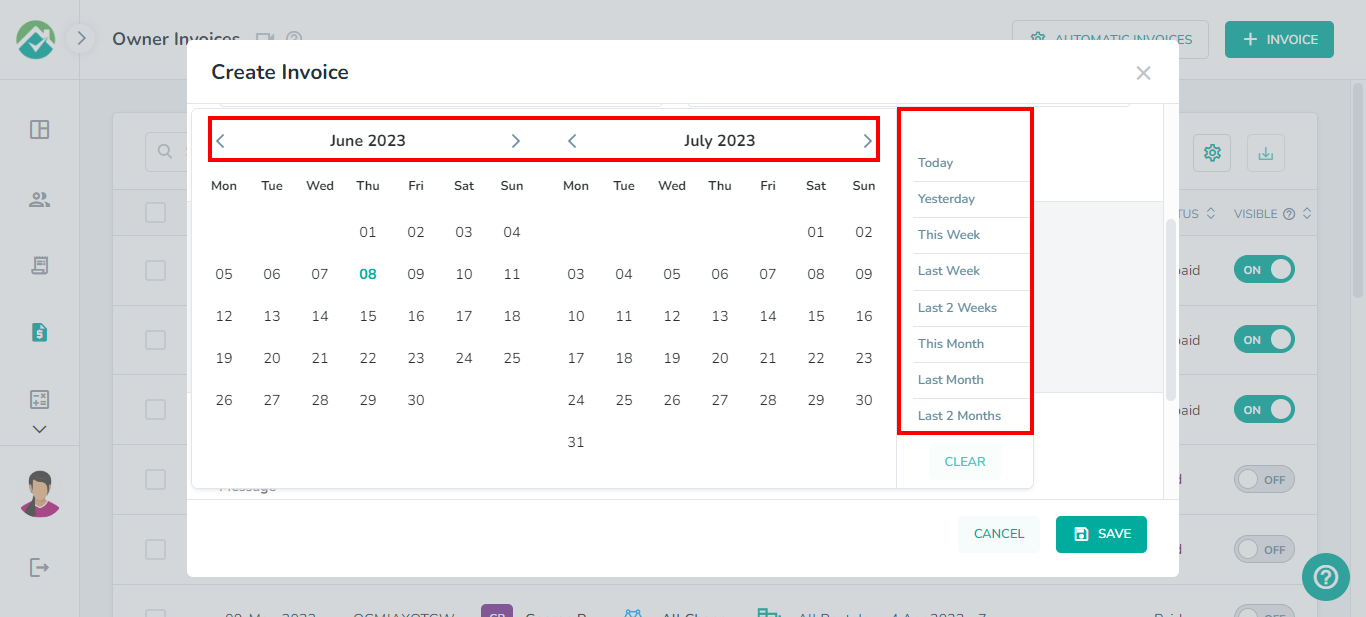
Date Range - Select the date period that this invoice is for. You can use the calendar to select your date range or choose one from the list of pre-defined periods in the column available.
You will also be able to specify channels or rentals if you wish. If no channel or rental is selected, then the invoice will be generated for all.
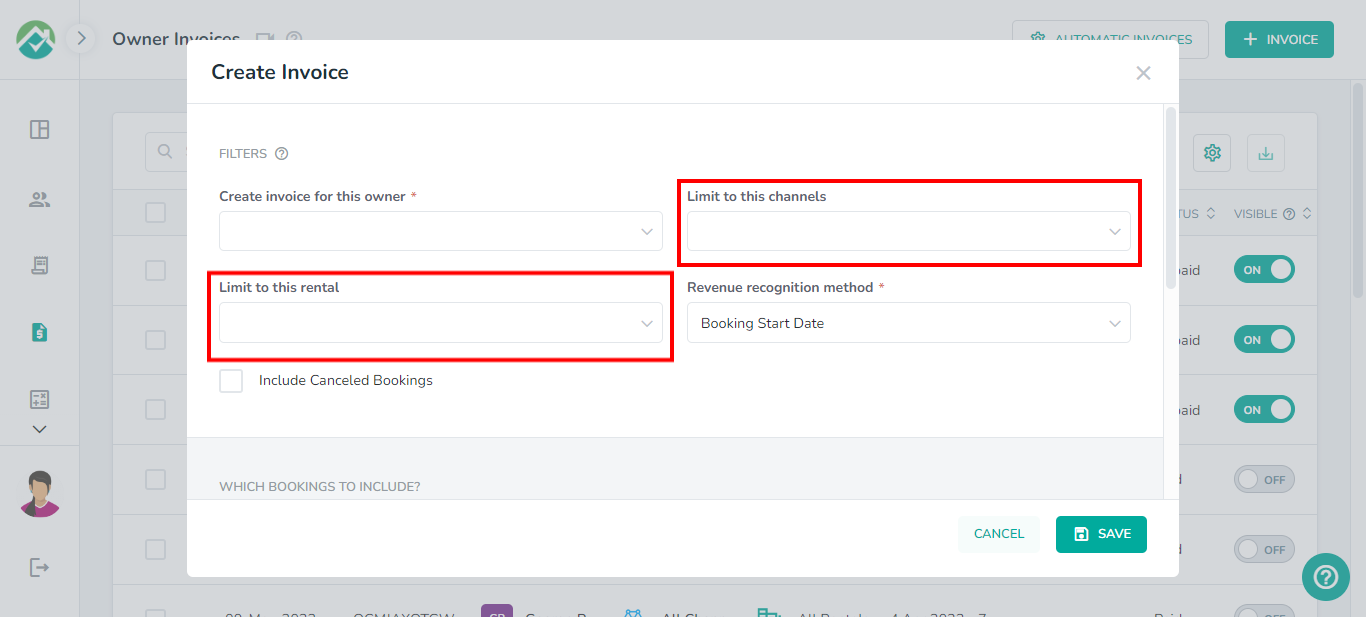
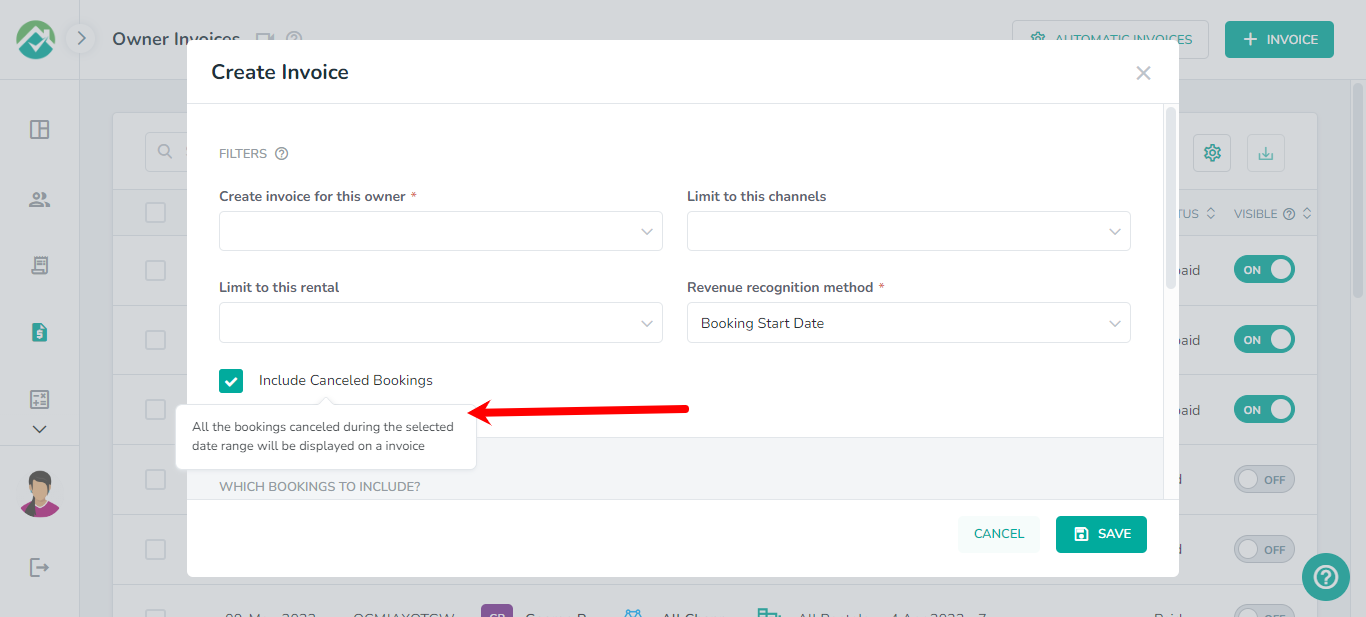
The "Include Canceled Bookings" checkbox gives you the option to also have canceled bookings reflected in the invoice.
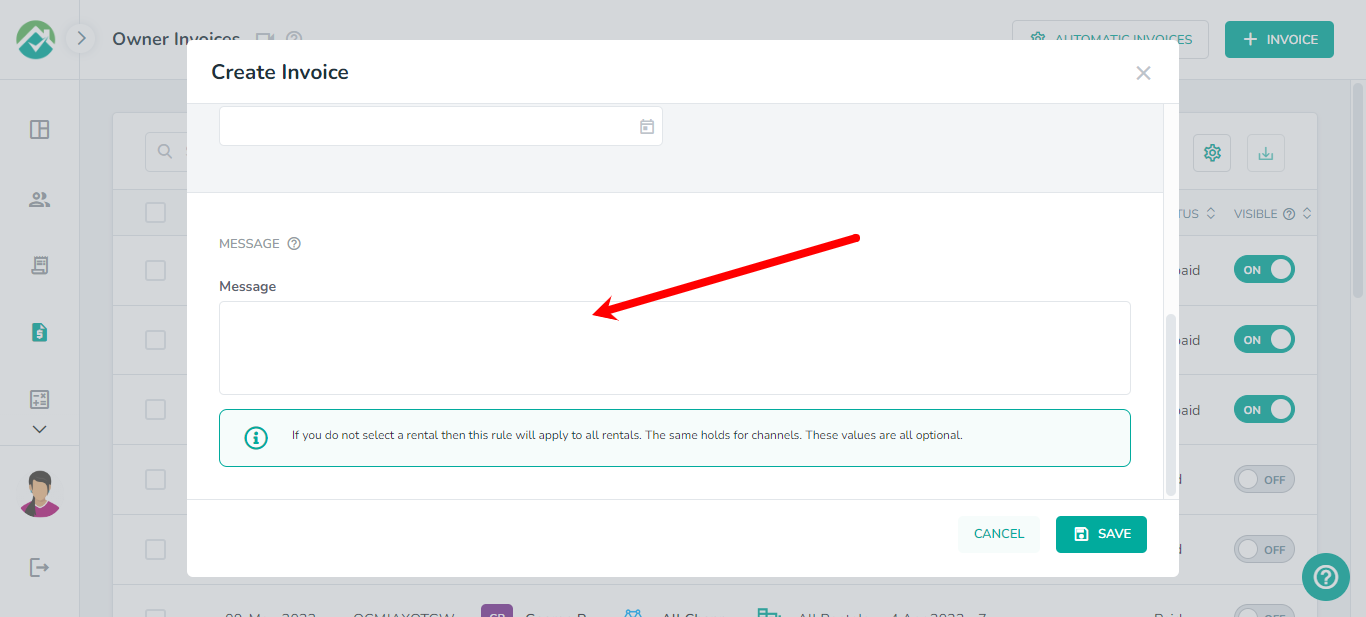
The Message area allows you to enter a message for this invoice.
Once you have filled in all fields, click on the Save button.
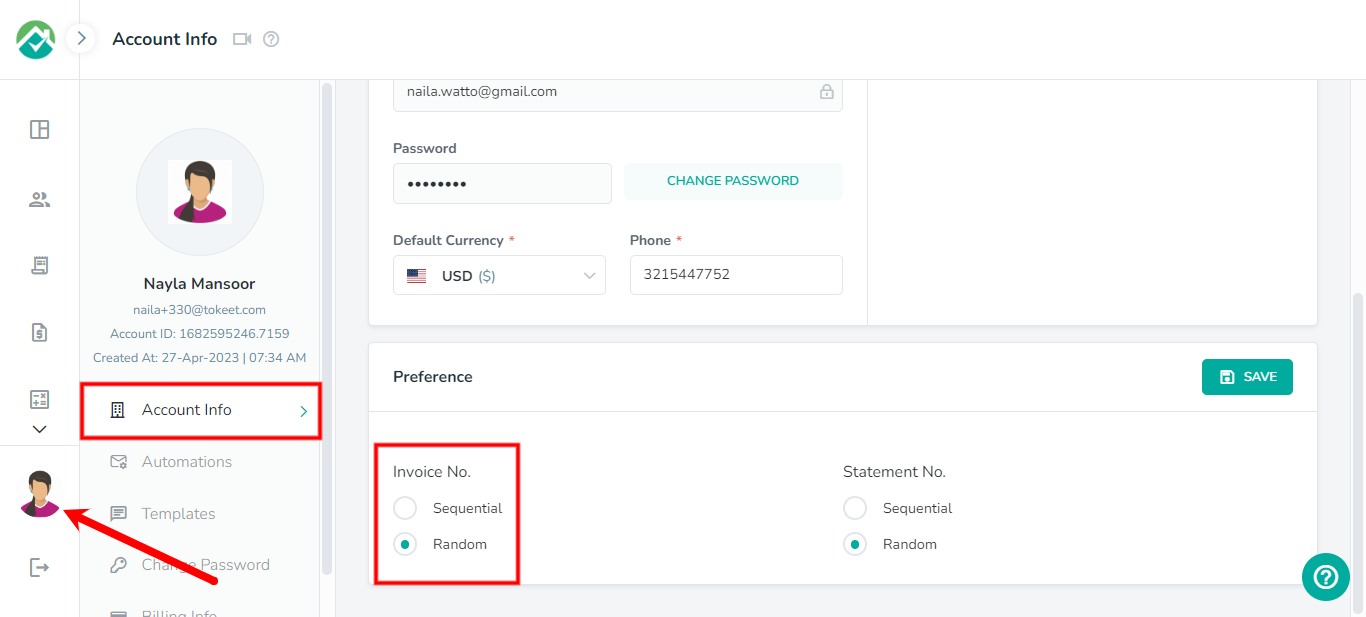
Invoice numbers are automatically generated based on the Preference selected in the Account Info.
Viewing and Editing a Invoice
If you click on a invoice from the list, you will be able to view or edit the invoice details.
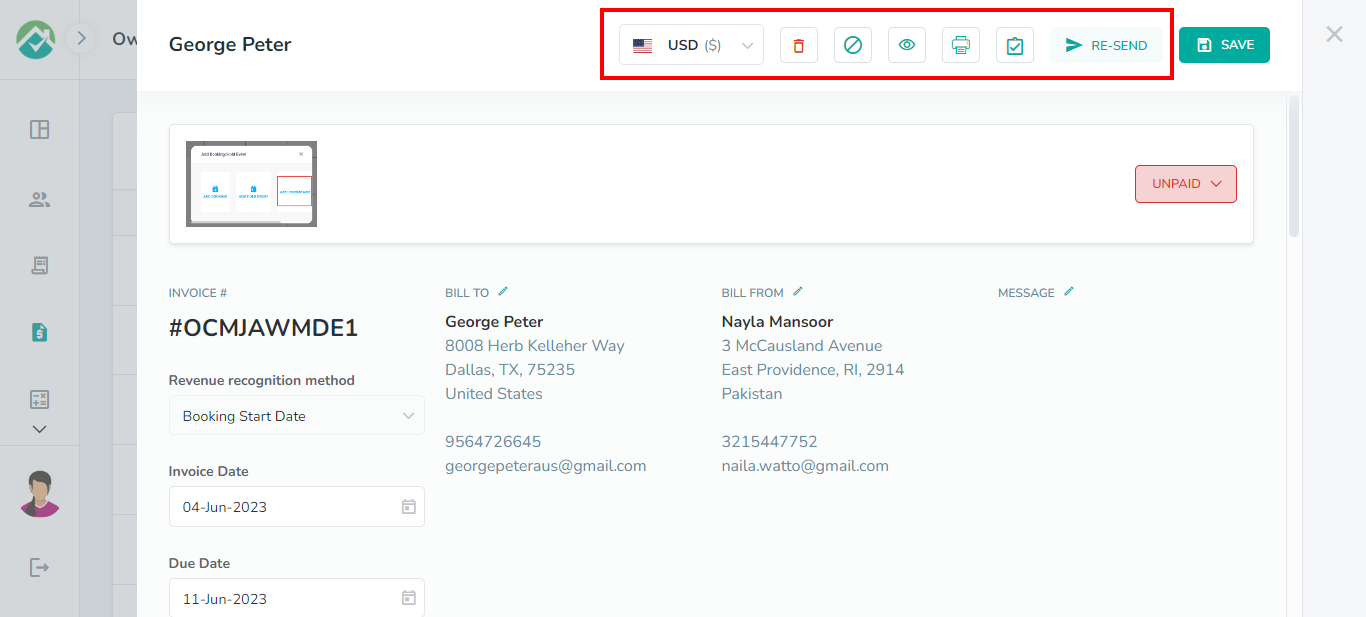
The following actions can also be performed by clicking on the available icons.
Select the currency
Delete the invoice
Cancel the invoice
Show/Preview the invoice
Print the invoice
Finalize the invoice- adjustments will not be possible after doing this
Re-send the invoice
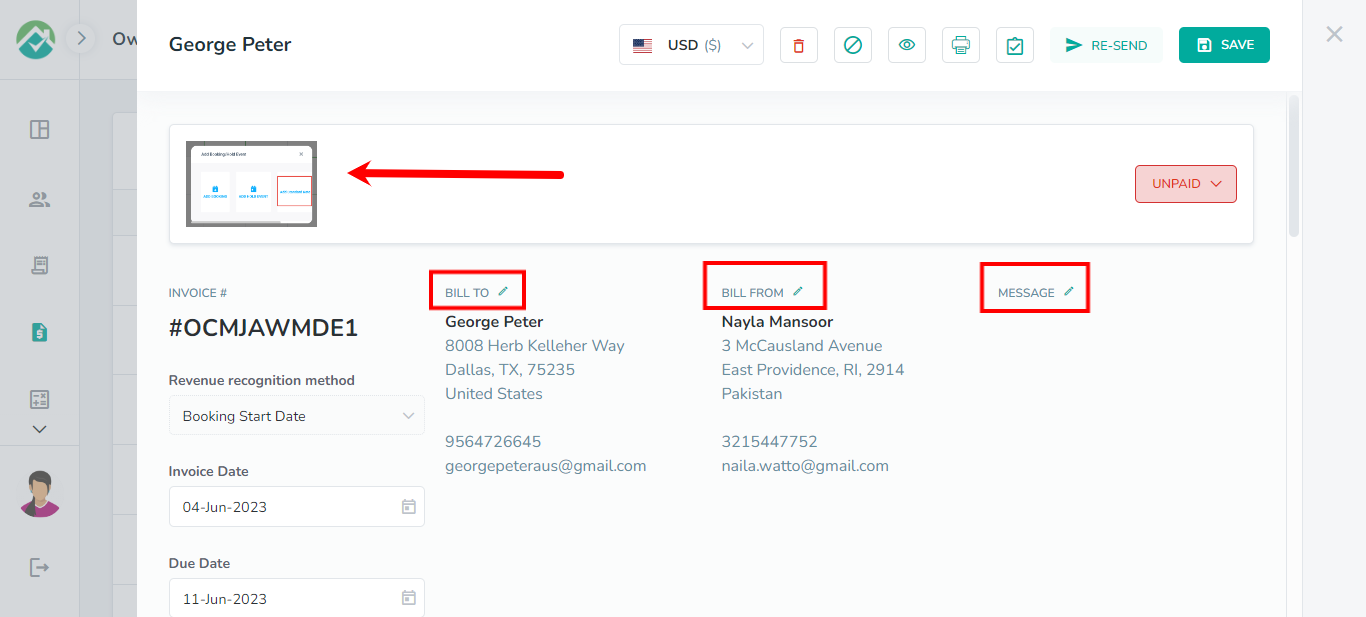
The top area of the invoices allows you to edit the Bill To, Bill From and Messages information by clicking on the Edit icon. You can also add your custom logo.
Below this area, each booking for the invoice will be displayed as a line item with an option to add taxes.
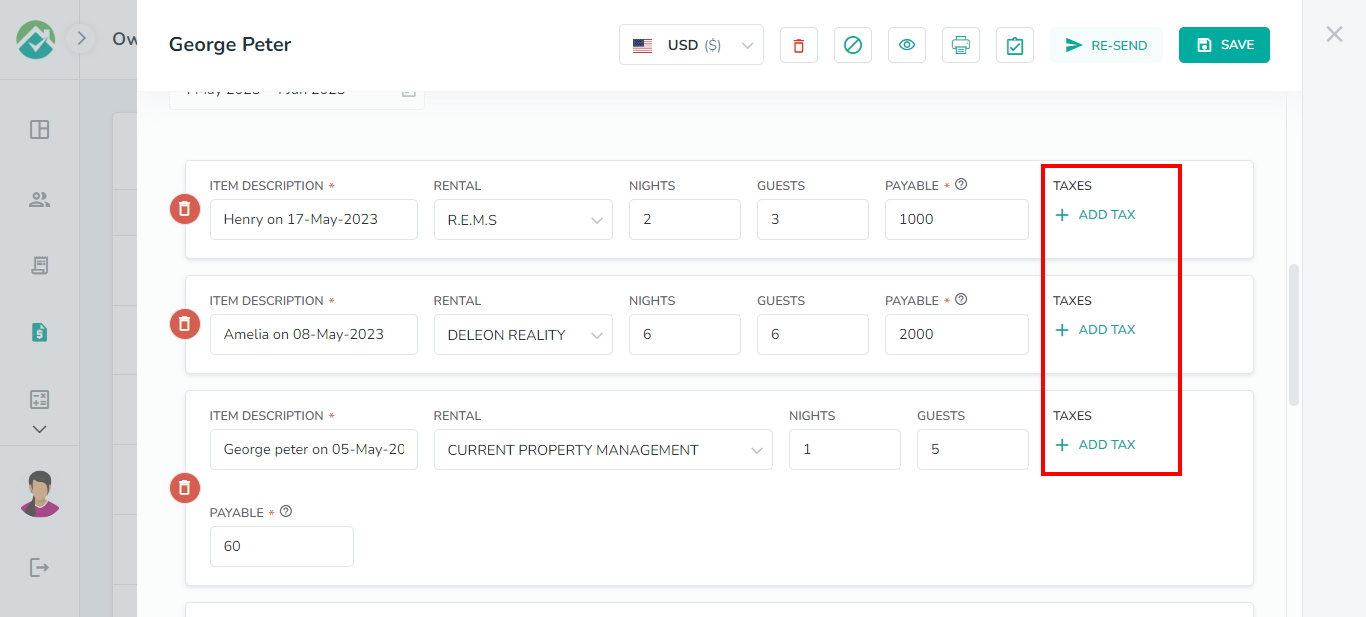
You will also be able to add more line items or expenses to your invoice.

At the bottom of the invoice, you will be able to add Payment Terms, Payment Instructions and Notes for the invoice.
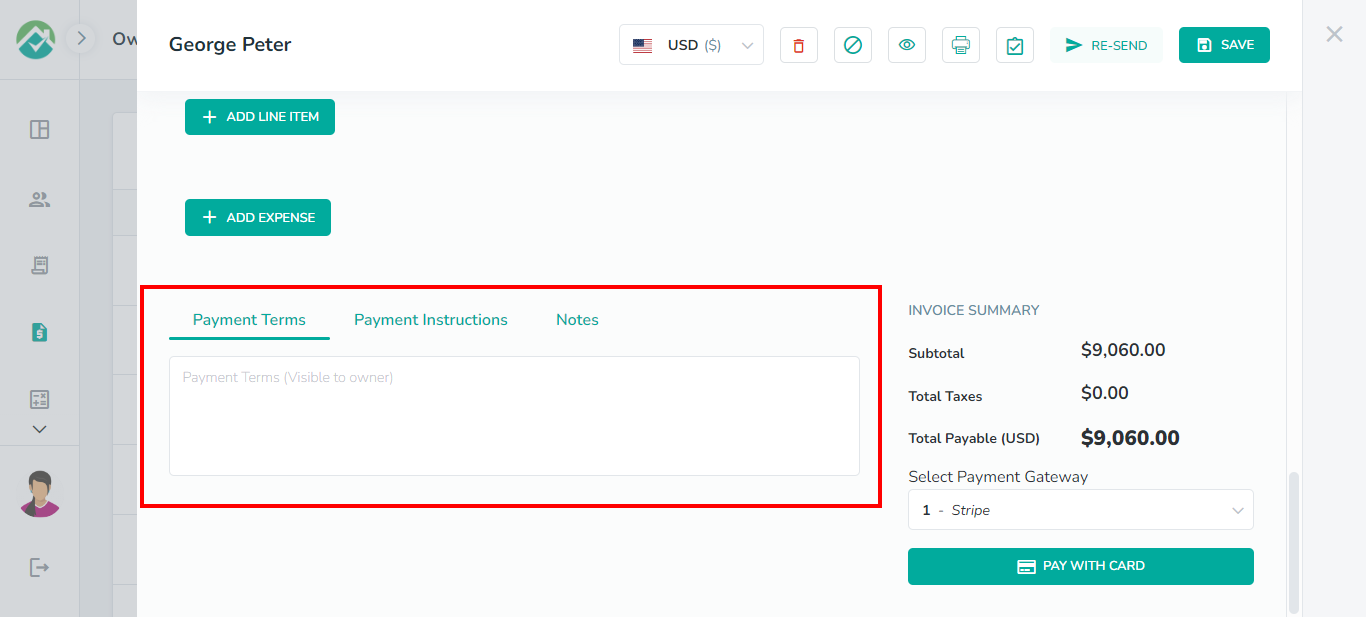
You will see the invoice total along with a dropdown box showing the available gateways and the option to Disable Payment.
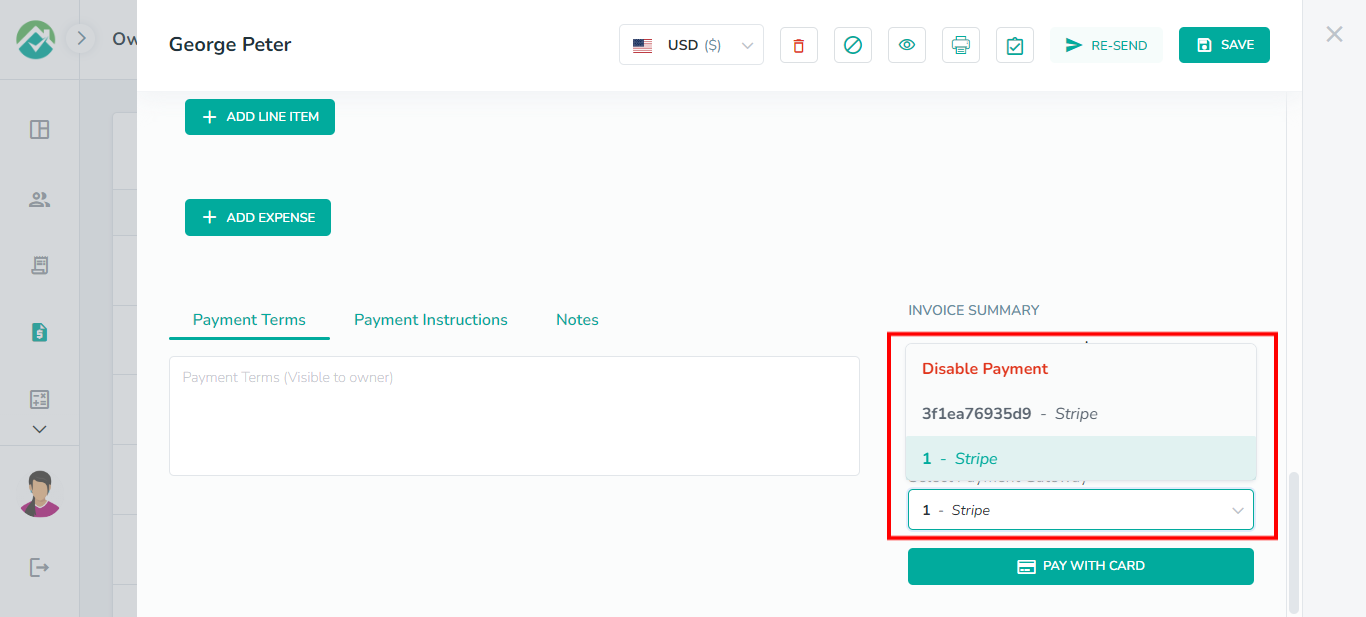
The payment button will also be available allowing you to pay the invoice.
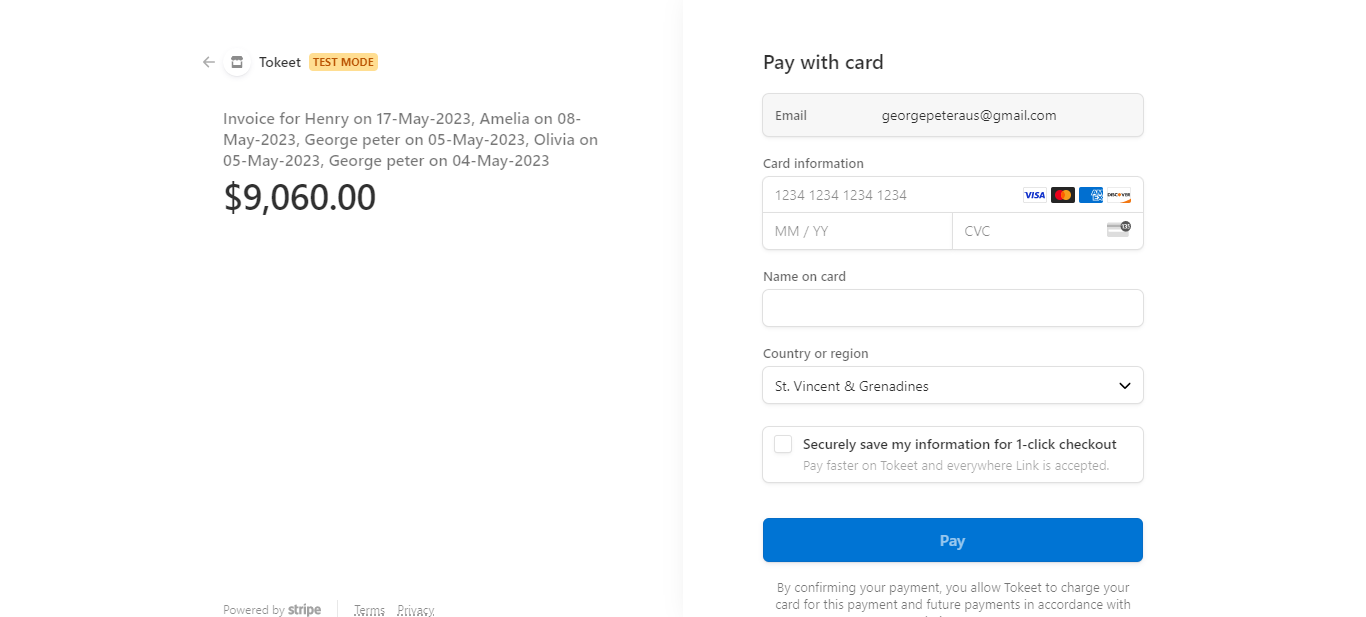
The Pay with Card option will redirect to a payment gateway page with inputs for you to enter card information to take the payment.
As always, we're here to help. Please feel free to email support@ownercenter.net with any questions.